


- This topic has 195 replies, 7 voices, and was last updated 1 month, 1 week ago by
 Massimo Marconi.
-
AuthorPosts
-
4 November 2015 at 8:54 #6989
I also believe that the grain of the abrasive plays its role “mediator”. In fact until 240 in my diaries I found slight variations in curvature and therefore in focal length to be reinserted into the Couder mask so as not to introduce the worst systematic error in the nanometric calculations, while with the 360, the 500 and 800 much less with cerium, nothing more.
9 November 2015 at 12:32 #7006Hi guys,
Can you tell me in your opinion if there is an improvement compared to the latest photos?
I worked on it about h 1,40 totalmaurizio
http://s11.postimg.cc/7aa8ghkz7/IMG_20151108_102342.jpg
http://s10.postimg.cc/rfr983w95/IMG_20151108_102605.jpg
http://s3.postimg.cc/pjn9qf54j/IMG_20151108_104932.jpg
http://s10.postimg.cc/qp7ptt8nd/IMG_20151108_104950.jpg
http://s15.postimg.cc/50gbgdkyz/IMG_20151108_105109.jpg
http://s12.postimg.cc/50nklhv99/IMG_20151108_105305.jpg
http://s1.postimg.cc/du7afb3kv/IMG_20151108_105623.jpg9 November 2015 at 14:49 #7007hello Maurizio, you have modified/improved the tester set up?
If so, bravo, you see an improvement in image quality. If you have not done so, it means that you improved the quality of the surface in the last processing session. the lines seem more defined and regular.
As regards the shape of the surface, however, a slight raised edge seems to have formed which would be best to eliminate (don't worry, it's a less serious mistake than the clinched edge and can be easily corrected)…
You've always worked with racing 1/3 COC? you applied pressure without realizing it?
Let's see what others say before proceeding further so we can get a more precise idea…
see you soon bye… 9 November 2015 at 15:07 #7008
I improved the tester by placing adhesive paper for body shops in front of the LED and making a hole with a pin.
I worked more with the mirror underneath 1/3 COC and only in the last half hour I have it a little’ shortened 3 or 4 cm of overflow
The raised edge seems to me to be there in the other photos too and it doesn't look like it’ something changed.maurizio
9 November 2015 at 17:18 #7009Ah here, in fact I said that the images are qualitatively better than the previous ones. Well…
Yes, it's true that there was a bit of it on the before images too, but now it seems more accentuated to me. However, I would also like to hear the opinion of others because I also have some doubts about the fact that it is only a raised edge (but let's wait for other opinions, it could just be my impression)… 9 November 2015 at 17:39 #7010
No matter what corrections you need to make, as a general suggestion, I would always advise you to take test photos every time you decide to change the type of race during processing.
For example, between the previous photos and the current ones, differences can be seen.
Now that we are evaluating them, however, it is not easy to understand whether the cause of these differences is due to the incorrect execution of the races 1/3 COC and shortened races or whatever.
If, however, you take even just a couple of photos between the various sessions, you will be able to notice and associate the effect generated with each type of pass.…
in conclusion, as in many other fields it is always better to evaluate the results when only one parameter has been changed at a time and not when many variables have been changed together, otherwise you will never be able to discern the effect of one from that of the other… 9 November 2015 at 23:42 #7011In my opinion the raised edge in this situation ( past 1/3 COC, full diameter tool ) it is a symptom of a central area of the tool with poor adaptation.
I would first of all try to verify that the contact between the patina and the mirror is homogeneous across the entire surface, then I would do a good adaptation session before each processing, checking with the Ronchi if the surface tends to normalize after each 30 me. I suggest this because I have never done the superficial knurling of the pitch squares.10 November 2015 at 18:18 #7012I agree about checking the pitch adaptation.
It can be done by interposing the pressing between the tool and the mirror, a sheet of kitchen polyethylene, and after various pressures we check whether, and where, there was something translucent, (given that where there is contact you can no longer see the polyethylene sheet but in transparency there is beautiful black pitch).
Any lack of complete contact of the surface of the pitch with the mirror, it could be a problem of too low ambient temperature, or too low at least for the start of work.
So it may be necessary to warm up the room a little, or vice versa (if you are not far from the ideal working temperature of the pitch), it would be enough just to do the pressing in a Maria bath in a basin of barely warm water.
15 November 2015 at 13:48 #7018Hi guys,
although I do everything very carefully (adaptation, 1/3 COC, local around 20° degrees) yet it seems to me that I am always at the same point; I worked on it about 2 hour,At least it still takes a lot more.maurizio
http://s10.postimg.cc/ei8mdgcah/IMG_20151115_113828.jpg
http://s13.postimg.cc/u075jvv07/IMG_20151115_114352.jpg
http://s29.postimg.cc/5s5ntep47/IMG_20151115_114650.jpg
http://s23.postimg.cc/ywvryc7gr/IMG_20151115_115149.jpg15 November 2015 at 16:57 #7019hello Maurizio.
I don't like the Ronchi test, and therefore I am not an expert in that subject, preferring Foucault, which however is more difficult to perform.
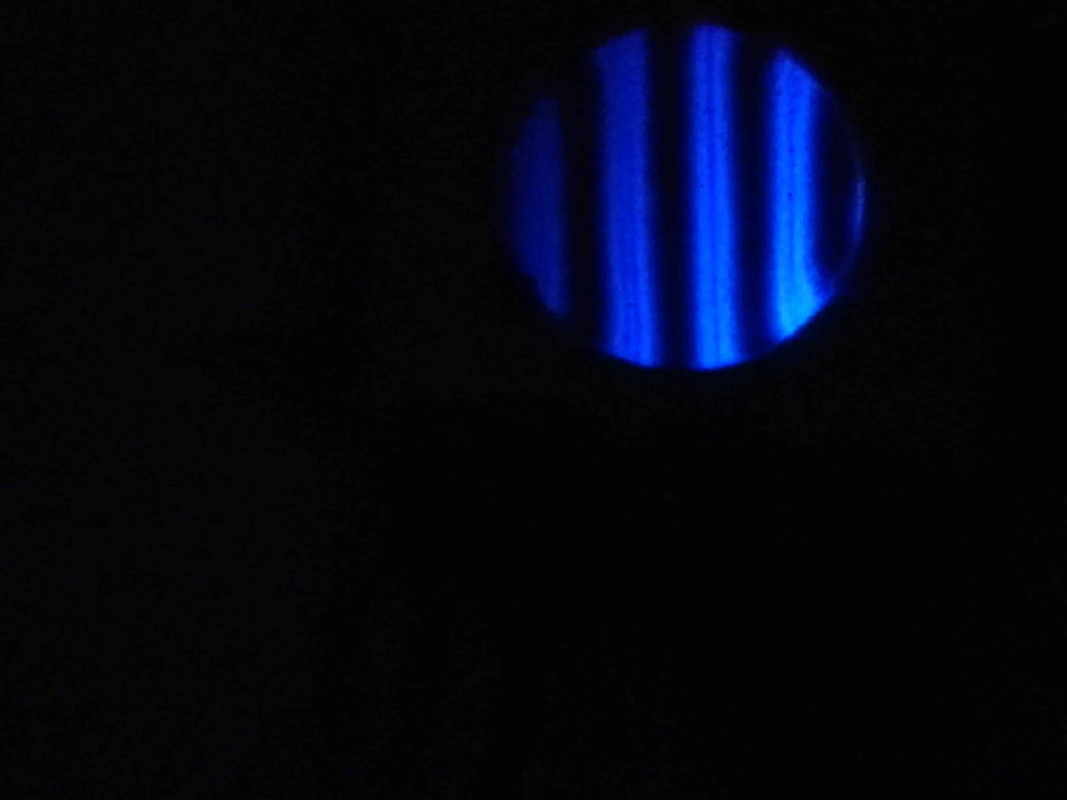
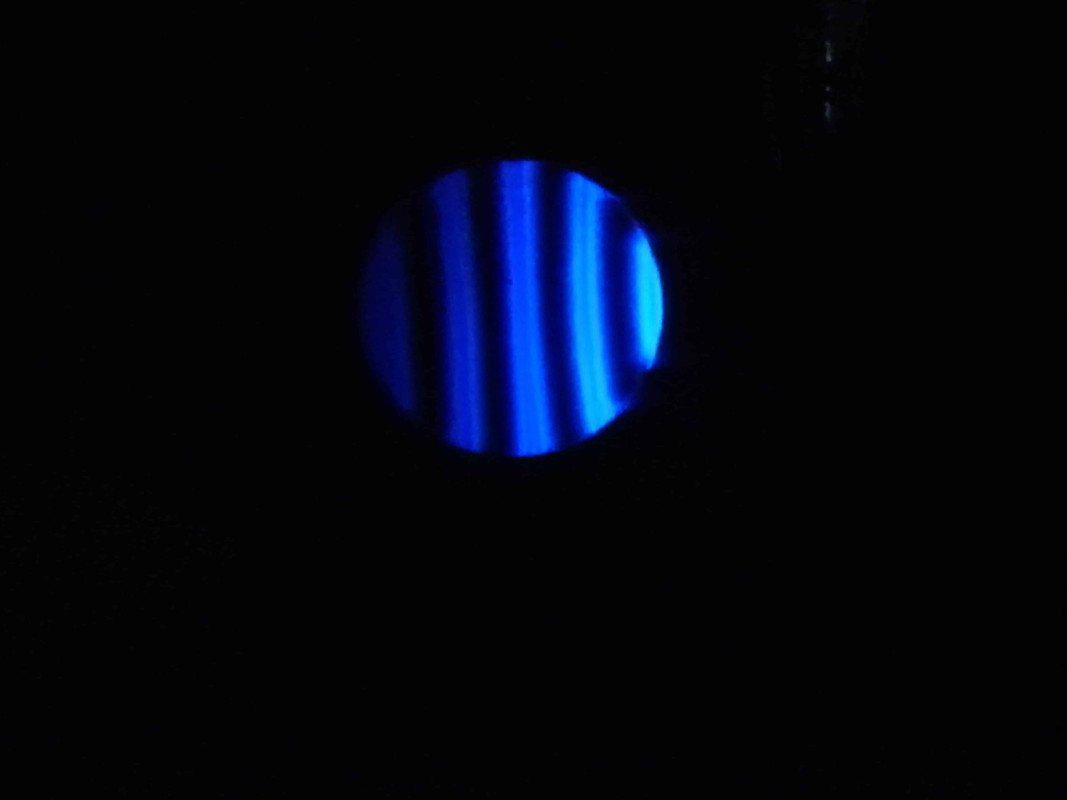
However I see that in general you have a surface that, (if the level of gloss achieved is satisfactory over the entire area of the mirror), is suitable to start parabolization, where a slightly raised or knocked down edge presents no problems.
I would see from the slight curvature of the Ronchi lines, that you have already just entered the path of the parable.My question is if you plan to make the mirror only with the use of Ronchi, or if you also intend to use Foucault.
This is because going towards parabolization things get complicated, and in any test it is necessary to train well to identify the trends introduced by the processing, starting by taking great care of the tester-mirror alignment, otherwise the nanometers involved are lost by the thousands.
15 November 2015 at 18:08 #7020I always remain of the opinion that there is no optimal adaptation between patina and mirror. past 1/3 COC must necessarily lead to a correct sphere even at the edge, if this does not happen the problem is in the setup:
adaptation, hard pitch, excessive or localized pressure, support stability, oscillations/movements of the mirror on the support, etc…If the cause of this small deformation from the sphere cannot be identified with certainty ( which I repeat cannot be the technique as it is by definition the one that constructs the correct sphere ) and we continue with the same methods without making any changes, it means wanting to solve a problem through the repeated application of its own cause and we will find it present even during the parabolization as a faithful traveling companion. So I think it's best to resolve it now…
Maurizio considers that in some situations, I put the tool and mirror under pressure climbing on top of it with both feet and remaining there for about ten minutes !!! ( weight 86 Kg
 ), in the end the adaptation was very good !
Like Giulio, I also prefer Foucault when analyzing the curve, however, I think that Ronchi is necessary and preparatory to Foucault, albeit fundamentally different, as it allows us to understand the effect on the surface of what we are doing much more easily and immediately, in a global view of the surface, even if only in a qualitative way.
Using Foucault without complete mastery of the techniques and their effects, without adequate understanding and experimentation of how any element of the setup can modify the progress of the figure regardless of the technique used ( as I believe in this case ), makes the use of this test even more difficult if not counterproductive, despite being among the best quantitative analysis tools for parabola construction.
15 November 2015 at 19:42 #7021Giulio,
the idea and’ to also use the Foucault but first I have to solve the ronchi problem (I have to understand where I'm wrong),then if I remember correctly you wrote something about tester-mirror alignment, could you give me the link again, I would like to read it again.
Maximum,
I do the adaptation by placing the utensil and mirror in a bain-marie ,about 35-40 degrees I remove it and dry everything quickly and then I place a mosquito net between the mirror and the tool and on top I put a 10 of kg per 15 min approx ,when I remove everything it's there’ a perfect adhesion of the mosquito net on the pitch film and then I start with the passes.
At least the problem lies elsewhere.16 November 2015 at 13:58 #7022hello Maurizio, Like Massimo, I too stood or sat on the tool more than a few times to make the adaptation, and it actually works…
I would try to do the adaptation without the mosquito net, because in the various tests I have done I realized that the mesh is very tight and the pitch can hardly fit inside well (it would be better to use a net with a little mesh’ wider)…or after having made the adaptation with the mosquito net, I would do others 10 min adaptation without, so as to be sure that all the reliefs press onto the surface of the mirror…
By the way, what support do you use for the tool?16 November 2015 at 16:53 #7023hello Mirco,
the tool holder e’ the glass disk with which I worked the mirror ,same diameter.
But if I try to make the adaptation by standing on it I always have to heat the utensil in a bain-marie 35-40 degrees or I can do without it?16 November 2015 at 19:16 #7025If you are using Gugolz pitch #64, its label said its working temperature is come on 65 to 75 degrees Fahrenheit, correspondents come on 18 at 24° Centigrade. Therefore it can be deduced that it would be a good idea to work at an average ambient temperature of 21°C.
And at that room temperature it is certainly not difficult to obtain a good shape faithful to that of the mirror.
Be careful that the escape grooves in the tool pitch must not be microscopic, but at least 5mm wide to be able to work easily without having to redo them every day.
This is because if they plug, the tool immediately creates zonal defects.
Also be careful if you try to create those escape grooves by placing a net between them, this must have at least meshes 2 cm side.
Conversely, a net with meshes smaller than 2cm and with gaps less than 5mm in depth and width, it is useless and even harmful (in fact it is not recommended by anyone), as well as requiring enormous tool adaptation pressure.
If you read the articles on the preparation of the Foucault test and the one on tar candies you will certainly get an idea of what a normal tool should look like, because if you want to succeed, you don't want to experiment with new ways, but remain in the tradition of this very demanding job.
The advice is to also read and study Mirco's articles on the conduct of the Ronchi test, so that you understand for yourself what you need to do to make what you want happen in your work.
A method to transparently verify the good adaptation of the pitch can be found in the article on pitch candies.
Furthermore, the gridding of the pitch of a tool by means of the interposition of a net, should be done taking care not to put the tool center in the center of a square or in the center of a groove, because in this job it is made up of numerous passes that remove very little, order to statistics, and therefore all symmetries must be avoided to ensure that errors of opposite signs cancel each other out.
the compression heating temperature is free, as long as you are careful not to overdo it by reducing the grooves and the height of the pitch layer too early, with the risk of having to remake the tool (something to always avoid because it brings defects).
For a 300mm diameter mirror, the initial pitch thickness of 10mm is reduced to 3mm at the end of the work. And it is good that at the end of the work the pitch is thin because it is more stable. (Is’ intuitive than a tall square of pitch 10 mm at the end of the work, could swing in processing much more than 68,75 nanometers of precision necessary for the creation of a mirror of minimum quality, while if the residual thickness is minimal there is the maximum guarantee of success).
-
AuthorPosts






- You must be logged in to reply to this topic.